 Ravenswood, Chicago, IL
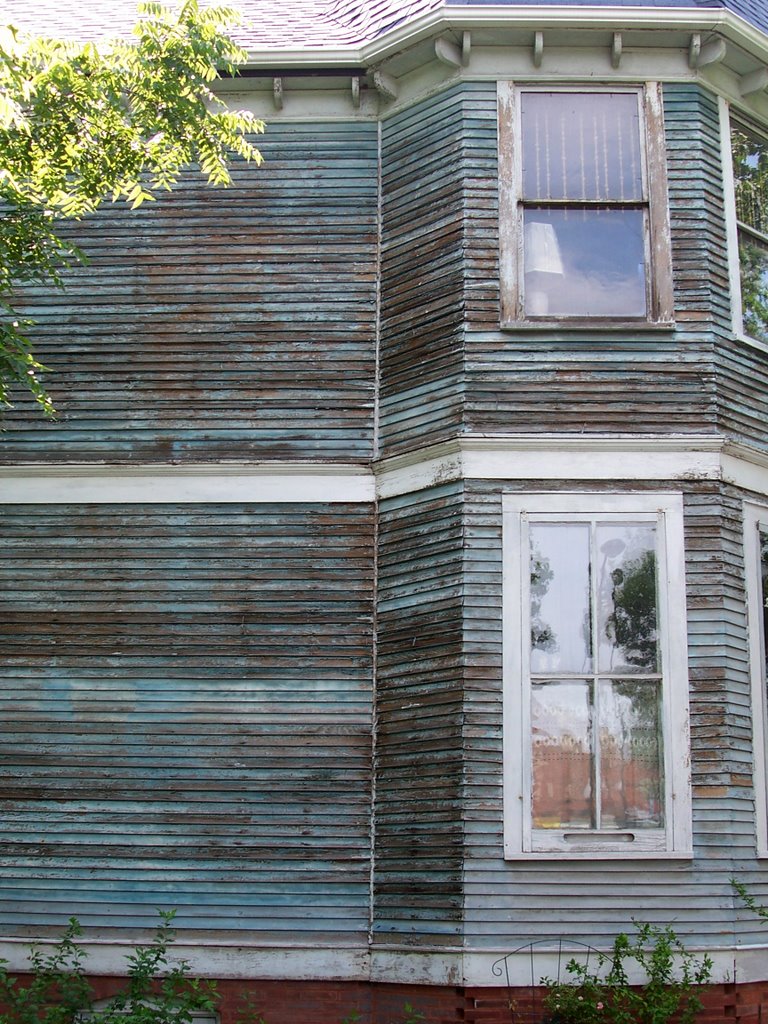
Some might look at this house and think, "Geesh, hire a painter already!" But I look at this house and think, "Gosh, I hope they're going to seal that."
I love peeling paint. I like it scraped up, worn away, and multilayered. This paint treatment (and, yes, I call it a "treatment") is the epitome of unorchestrated beauty. This house was probably once a solid robin's egg blue, the wood all slick and sealed to shine. But then it rained and snowed and, summer after summer, the sun beat down upon the house. The wood started to fray, splinter, and bend against itself, pulling in tighter to hide from the elements. At some point, a diligent owner may have climbed up on a ladder and, with all the best intentions, tried to scrape away at the old layers to make room for the new. What's left is either the mid-point of an exterior paint project or, in my eyes, one clear coat away from perfection.
I love peeling paint. I like it scraped up, worn away, and multilayered. This paint treatment (and, yes, I call it a "treatment") is the epitome of unorchestrated beauty. This house was probably once a solid robin's egg blue, the wood all slick and sealed to shine. But then it rained and snowed and, summer after summer, the sun beat down upon the house. The wood started to fray, splinter, and bend against itself, pulling in tighter to hide from the elements. At some point, a diligent owner may have climbed up on a ladder and, with all the best intentions, tried to scrape away at the old layers to make room for the new. What's left is either the mid-point of an exterior paint project or, in my eyes, one clear coat away from perfection.
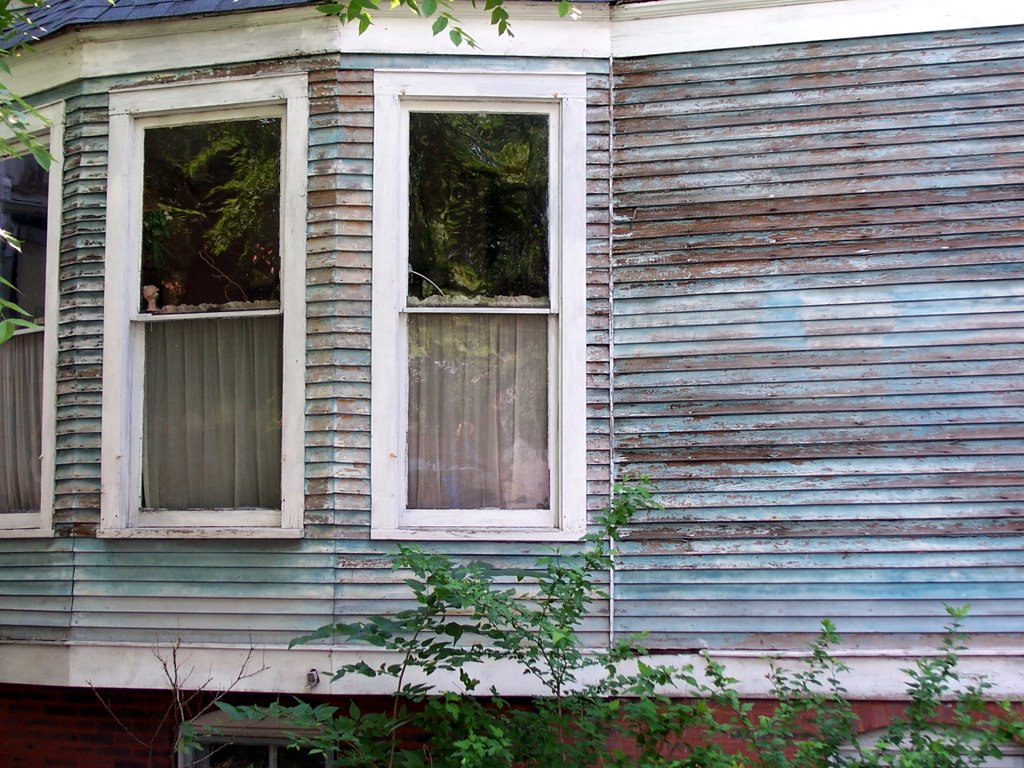
I gaze upon this house and I'm thrust into a feverish August afternoon where the winds grab violently at the hem of my dress as I gather candles and run to hide in the cellar until the storm passes. I also think of just "settin'" out on the porch with an iced 'ade, shelling peas, listening to the scratch and hum of a record playing just on the other side of the wall. There's a romance, a depth, and a history here that newly painted houses simply cannot emulate.
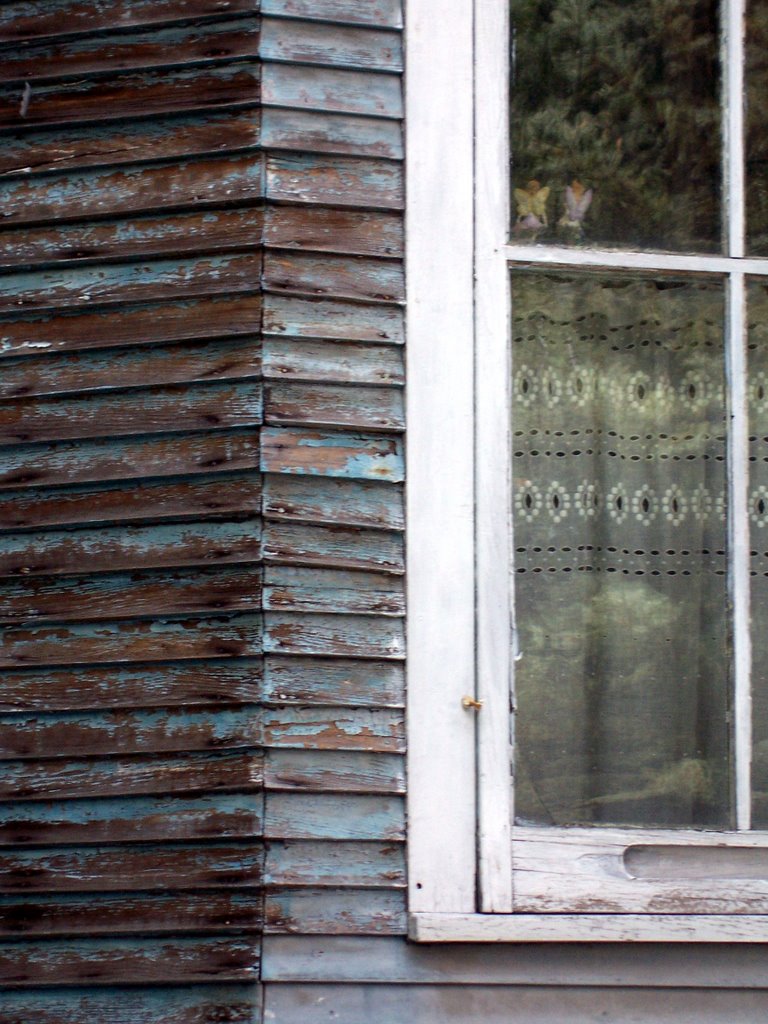
For these reasons, I, Cardboard, declare this a Design Boner.