
The Candelier!
BEFORE: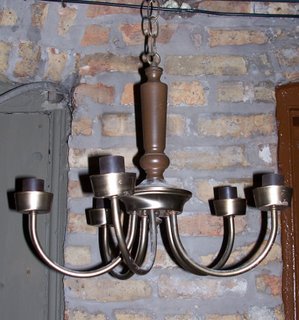
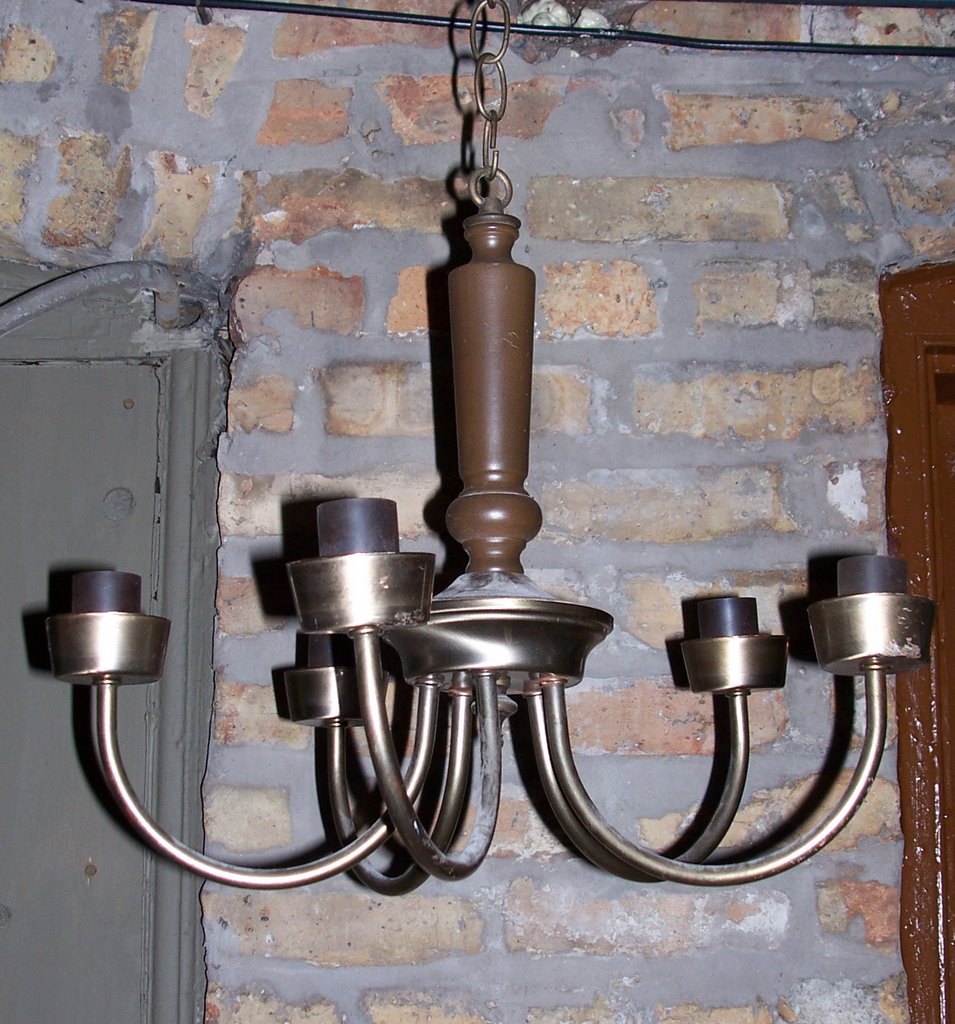
We found our perfect test subject at a local thrift store for only $5. We saw others for sale (complete with all the "crystal" fixins') for over $200. Since this was an experiment, we decided to keep it cheap. And, to be honest, we genuinely liked the simplicity of this fixture. We just didn't like the look. The painted wooden stem and the brassy branches did nothing for the overall shape. The instant we saw this sad little chandelier, we knew a little attention and a good coat of white lacquer could bring it back to life.
To find your own, scan thrift stores, garage sales, flea markets, even the alleys behind renovation sites for cheap or free light fixtures. You will definitely want to start with a low-priced item until you master your craft. Remember, you can always dress it up later with baubles and crystals if your end result turns out well.
STEP 1: TAKE IT APART
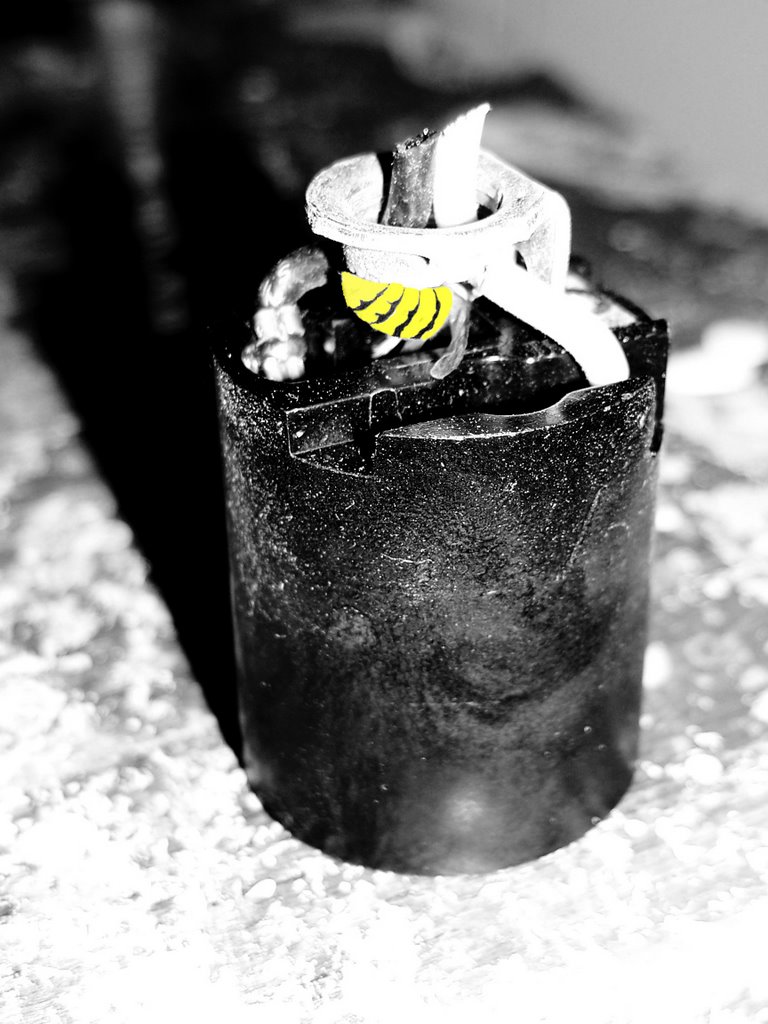
The best way to get to know your material is to know how it fits together. For this step, we removed the chain, slid the wooden stem off, and jiggled the light socket cups. If you're planning on actually using the electrical on your fixture, this step is crucial because you need to check the wires for damage. Bee careful when you do this because you never know what you might find inside any old piece of furniture or fixture.
In fact, if you're keeping the electrical element, the best advice is to take your new purchase to a professional to make sure that everything is in working order. And since you're spending the money to do that, you may skip STEPS 2 & 3.
STEP 2: REMOVE SOCKETS
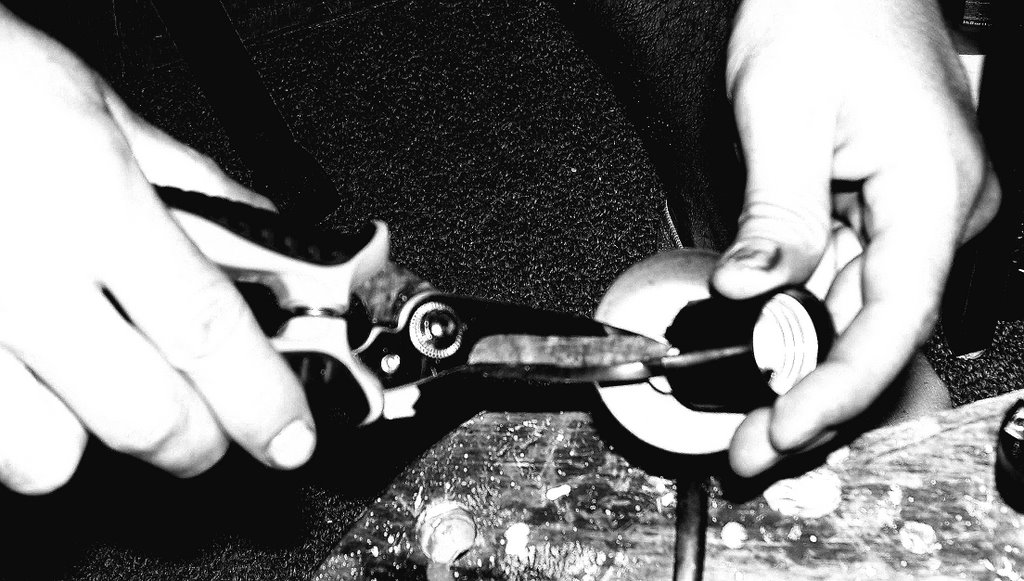
This step spills over from STEP 1. At first, we entertained the idea of leaving the sockets in place. They would work quite well as candlestick holders but we would be limited to buying tall, thin candles. Since this piece was planned for the outdoors, the idea of spindly stick candles blowing and swinging about in the wind did not appeal to us. By removing the sockets, we opened up the option of using short pillar candles, which would be heavier and more centered, lessening the chance of a waxy rain storm. We removed the sockets by unscrewing the nuts at their base, pulling up on the sockets, and clipping the wires that held them in place. We then reattached the cups by screwing the nuts back in place (sans socket).
STEP 3: REMOVE THE WIRING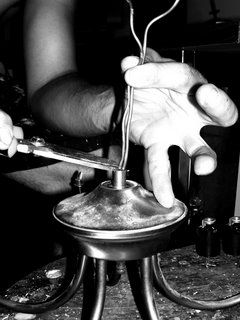

If you can yank it out, yank it out. If not, pull it out as far as you can and then snip it off right at the base. Any remaining wiring will slip back into the body of the candelier and be hidden from the eye. Make sure to differentiate between any structural wires and electrical wires. Some wires you may need to keep in order for the piece to hang correctly.
STEP 4: SAND & CLEAN
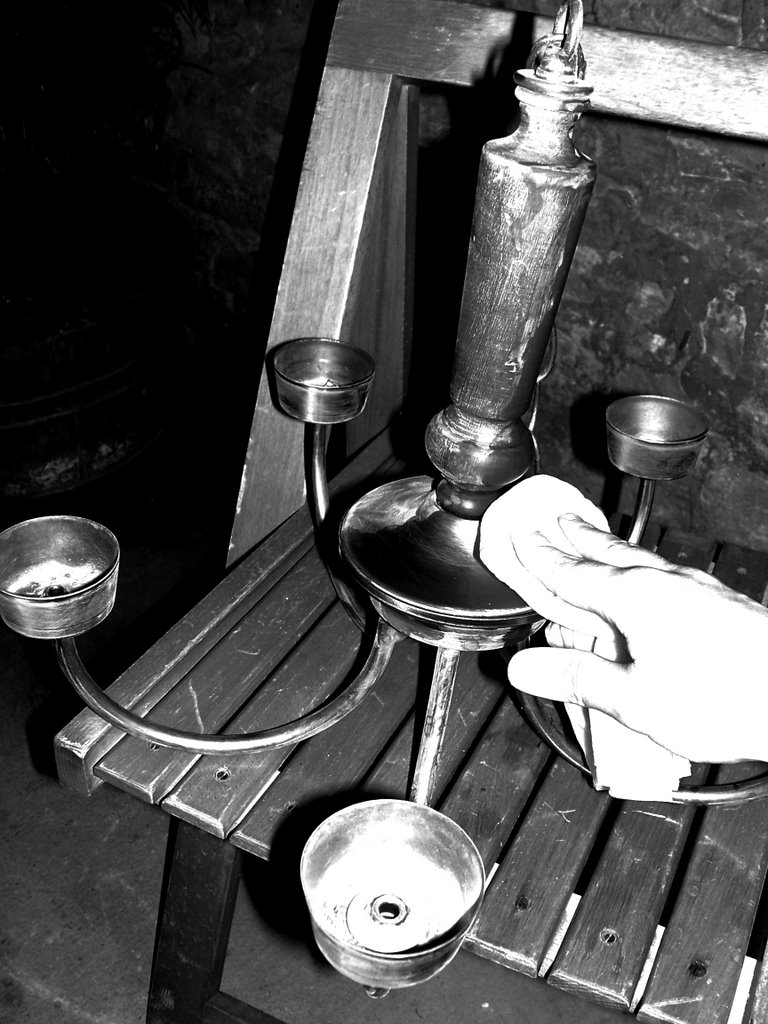
First, sand all surfaces with a medium-grade (200 grit) sandpaper. This will clean off dirt, smooth out minor flaws, and prepare the surface to accept the lacquer. If you're working with a fixture that consists of lots of tiny pieces and dangling bits, you're going to hate this step. But your attention to detail will show in the end result so be as particular as you want to be.
After sanding, brush off the loose dust and wipe clean with a rag soaked in rubbing alcohol or other type of degreaser. This step not only cleans off the fine dust but it also removes oils and residue left by your fingers which will prevent a uniform coat of lacquer. You may use acetone or lacquer thinner but they contain harsher chemicals. Rubbing alcohol gets the job done and isn't quite as severe. Your fixture will still look very scratched up at this point but don't worry; none of the scratches will show through the lacquer.
STEP 5: LACQUER!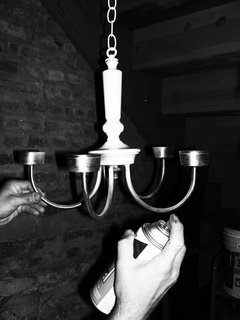

You're almost finished! But don't rush through this last step because, like all the others before it, it's terribly important. Lacquer in spray form is relatively new technology and a classy alternative to spray paint. Both lacquer and paint are applied in the same manner but many say that lacquer will provide higher color retention, a glossier finish, and will be much more durable than paint. For example, automobiles are lacquered so that gives you an idea of what this stuff can endure.
Before you begin, you may want to test your skills on scrap wood or the inside of your trash can. Mastering the aerosol can might look easy but it takes some practice to avoid those tell tale drips. After your test run, hang the fixture somewhere that allows you to reach it from all angles. It's best to find a spot that isn't pristine as tiny particles of lacquer will fly around. Begin with a "piss coat" or a very thin layer of lacquer (or paint) across the entire piece. Professional painters coined this term and they swear that it helps "introduce" paint to the surface, allowing for better overall coverage. Start at the top and work your way down in even strokes. Keep your spray hand constantly moving because if you focus on one spot, you'll apply too much lacquer to that area, and end up with messy looking drips.
Continue coating until you feel that you've gotten to every little nook. If your goal is optimal depth and shine, you should let the first coat dry, sand it all over again, and apply another coat. Keep at it until your vision is achieved. Another benefit of the lacquer is that it dries in about half an hour; whereas spray paint can take a minimum of two hours to fully dry.
AFTER: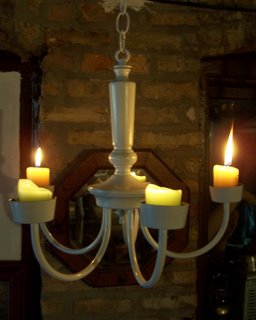

We love our candelier! It adds much needed romance and LIGHT to our dingy back porch area. We decided to leave the arms a little bit wonky and asymmetrical because it adds to the charm of the piece. And we don't mind if the candles drip over the edges of the cups because we also think this will work in its favor.
We hope that you have a chance to try this out for yourself. We'd love to hear your feedback on our first "How to..." post and hope that you'll send in your own tidbits of advice. Also, if you've been trying to figure something out but can't quite get it, send us your "How to..." ideas. We welcome any challenge! Until then, happy candeliering!
1 comment:
LOVE the first (of many i hope) how-to post! Great idea w/ going with the lacquer finish. I'm going to talk alison into making one for our new place. I've never heard of the term "piss coat", but i'm excited about using it in the future. great work ladies.
Post a Comment